Struggling with slow speed? Ya WordPress site sometimes sucks in speed. We are well informed that how much site speed is important for conversion of our sites. If you want to speed up your wordpress then using a Content Delivery Network is very much essential. Here is how to setup cloudflare free CDN in WordPress.
Here you will see
- Adding a site to cloudflare.
- Setting up Cloudflare in wordpress.
- Making w3 cache plugin compatible to work with cloudflare
- Removing site from cloudflare
WHAT IS CLOUDFLARE?
Cloudflare is a content delivery network which when activated acts as a substitute for your visitors and your hosting company. It effectively protects from malicious visitors and increases website speed by reducing average page load times. Cloudflare changes your default nameservers and routes all your website requests through it.
The static contents on websites as images, JSS files and CSS are cached by Cloudflare and thus improving the site speed.
The other functions of cloudflare include controlling and managing traffic, manage access by IP, Country or query rules and review firewall events and many others.
HOW TO ADD A SITE TO CLOUDFLARE?
1. Make an account in Cloudflare.
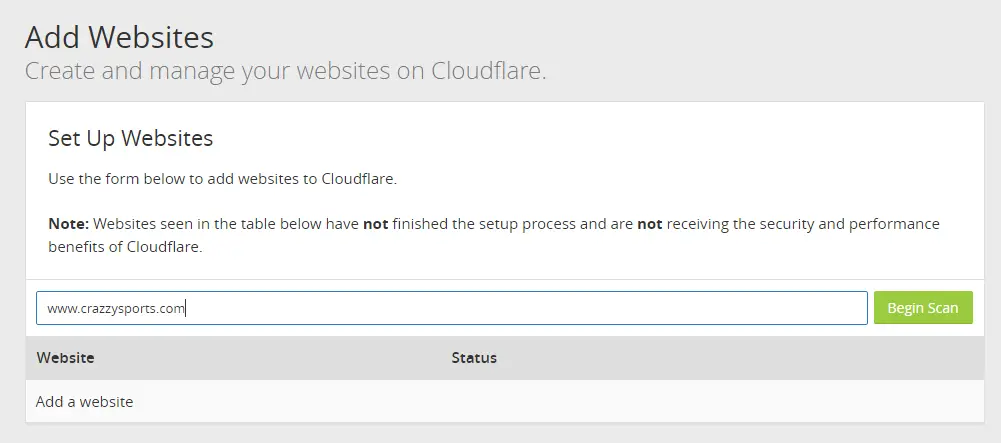
2. Click on Add site.
3. Here I am adding a client’s domain name www.crazzysports.com.
BEGIN SCAN after adding your domain name.
4. Scanning may take up to 60 seconds.
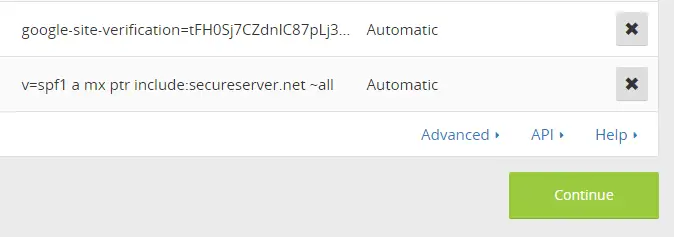
Continue Setup
5. Do not have to un-check any point. Simply click CONTINUE.
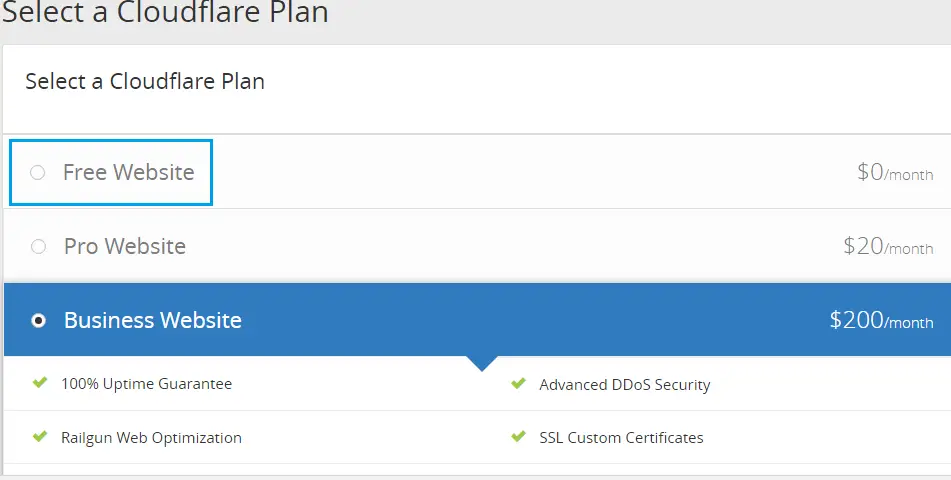
6. As I am demonstrating the setup of Free CDN so should select the option of FREE WEBSITE here.
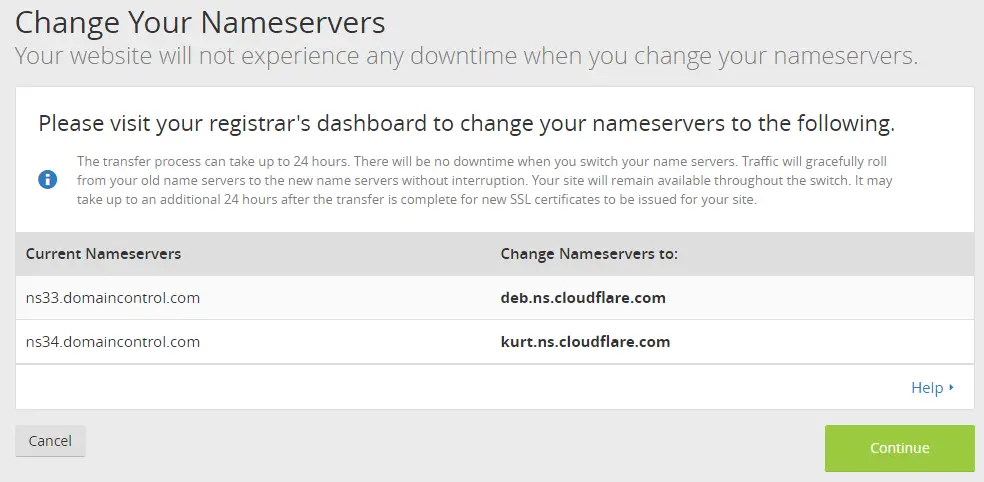
7. You have to change your default nameservers to the Cloudflare nameservers. We have already seen how to change the default nameservers.
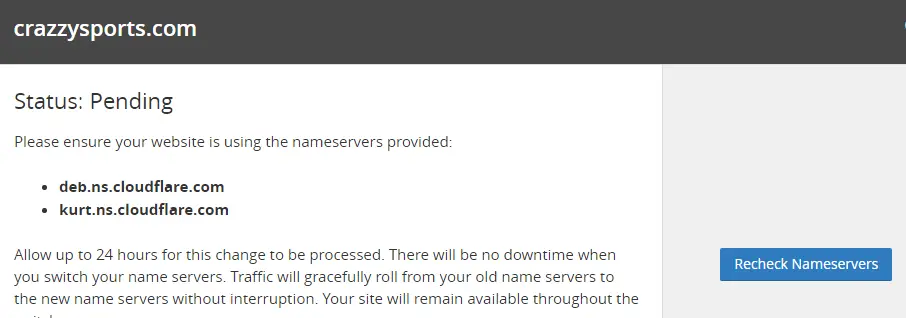
8. After changing the nameservers in hosting panel you will find your domain status Pending.
9. Go to cloudflare home page and you will see as pending nameserver update.
10. Refresh the page after few minutes and probably you will see it is Active.
Do not freak out as this process may also take up to 24 hours.
CLOUDFLARE SETTINGS FOR WORDPRESS
After getting our domain name active status we need to setup cloudflare in WordPress.
1. WordPress Dashboard> Add New Plugins
2. Install > Activate
3. Cloudflare > Settings
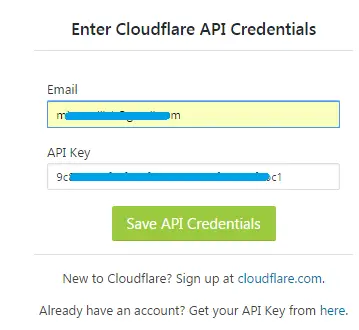
4. Email: Enter the email ID with which you registered in Cloudflare.
API KEY: For API key go to Cloudflare Site and click on your domain name.
5. Scroll down to Domain summary and Click on ‘Get your API Key’.
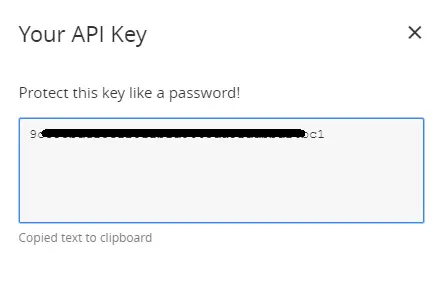
6. Scroll down to API Key> Global API Key> View API Key
7. A new window will open up with your API Key.
8. Once again go back to WordPress dashboard.
Fill email and API Key and Save API credentials.
9. Apply default settings.
10. If you want to be sure if Cloudflare settings are correctly done then go to web page test and see if CDN has been correctly applied.
Enter your URL and start test.
When it is correctly done you will see the Tick with green background in the Effective use of CDN.
INTEGRATE CLOUDFLARE WITH W3 TOTAL CACHE
W3 total cache cloudflare is an interesting combination as both are powerful cache and CDN plugin.
A minor change in settings is required if you are using W3 total cache.
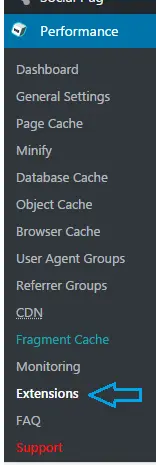
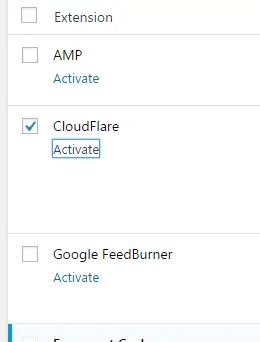
1. Go to WordPress Dashboard> Performance> Extensions
2. Activate cloudflare.
Yeah! It is completed.
HOW TO REMOVE CLOUDFLARE FROM WORDPRESS
Removing cloudflare does not require any special work.
- If you are using the plugin then simply uninstall it and you are done.
- If you are using set of codes then go to your htaccess file or functions.php files where you have written the codes, and delete the codes and save it.
HOW TO DISABLE CLOUDFLARE: REMOVE SITE
For deleting site from cloudflare go to cloudflare.
1. Select Website> Your site name
2. Go to Advanced.
3. You can either pause or Delete it permanently.
Once you delete it you won’t find your site in select website on cloudflare’s homepage.
I HAVE A FREE COURSE TO INCREASE WEBSITE SPEED BY 70%
WRAPPING TIME
There are plenty of CDN’s available both paid and non paid. Check out the other effective CDN’s. Leveraging browser Cache is yet another powerful way to increase website speed by reducing the number of HTTP requests.
Find out all the other factors affecting web page speed.












JohnetteJuicy
Sunday 1st of July 2018
I often visit your website and have noticed that you don't update it often. More frequent updates will give your website higher rank & authority in google. I know that writing posts takes a lot of time, but you can always help yourself with miftolo's tools which will shorten the time of creating an article to a couple of seconds.
LastCandelaria
Sunday 14th of January 2018
I see you don't monetize your website, don't waste your traffic, you can earn additional bucks every month because you've got hi quality content. If you want to know how to make extra bucks, search for: Mertiso's tips best adsense alternative